For a long time afer seeing one for the first time (probably in early 2000s), Braun SK “kitchen” radios really shocked me with the minimalism, beautiful simple design and the focus on easy interaction. Not knowing so much about history of Braun at the time (probably when I was 16 or 18 years old), they felt so fresh compared to the usual tube radios and resembled Apple products in terms of industrial design.
Funnily, only later I’ve learned how much Apple designs were influenced by the Braun design department and how influential Dieter Rams was (even though he joined Braun after SK-series were designed).
So… years later, when a nice and complete SK2/2 popped up at the local classified site, I had no choice but to get it 😇
Initial state
The unit I purchased come complete and in a surprisingly nice state given it has over 60 years. The very good news is that it was complete, no parts were missing and also the brittle bakelite case had no chips or cracks.
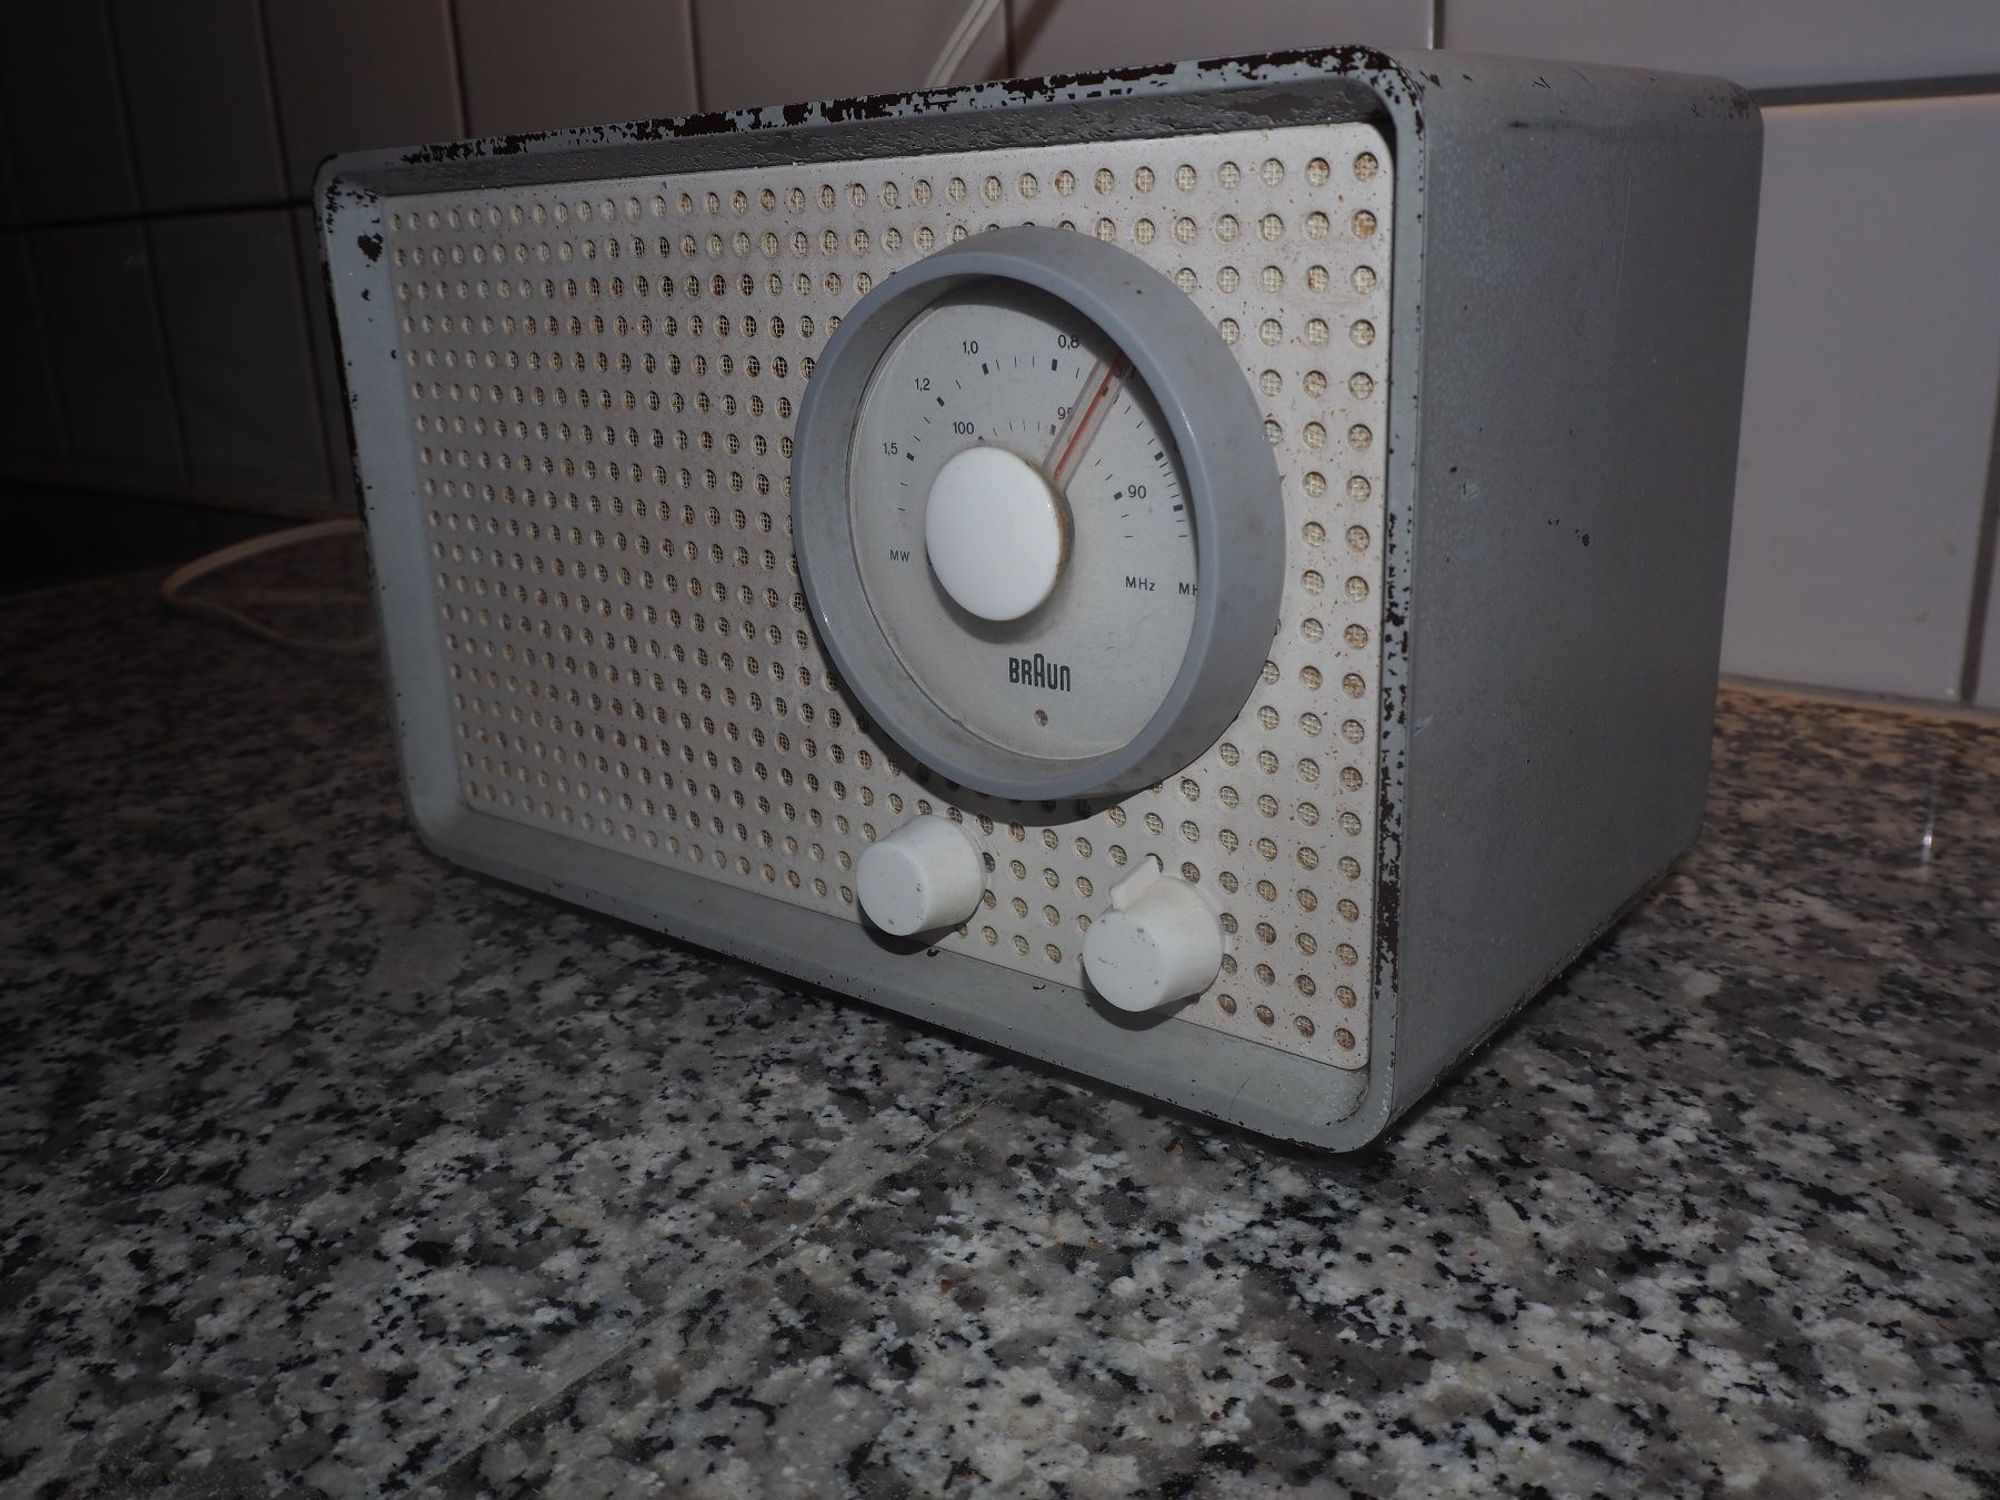
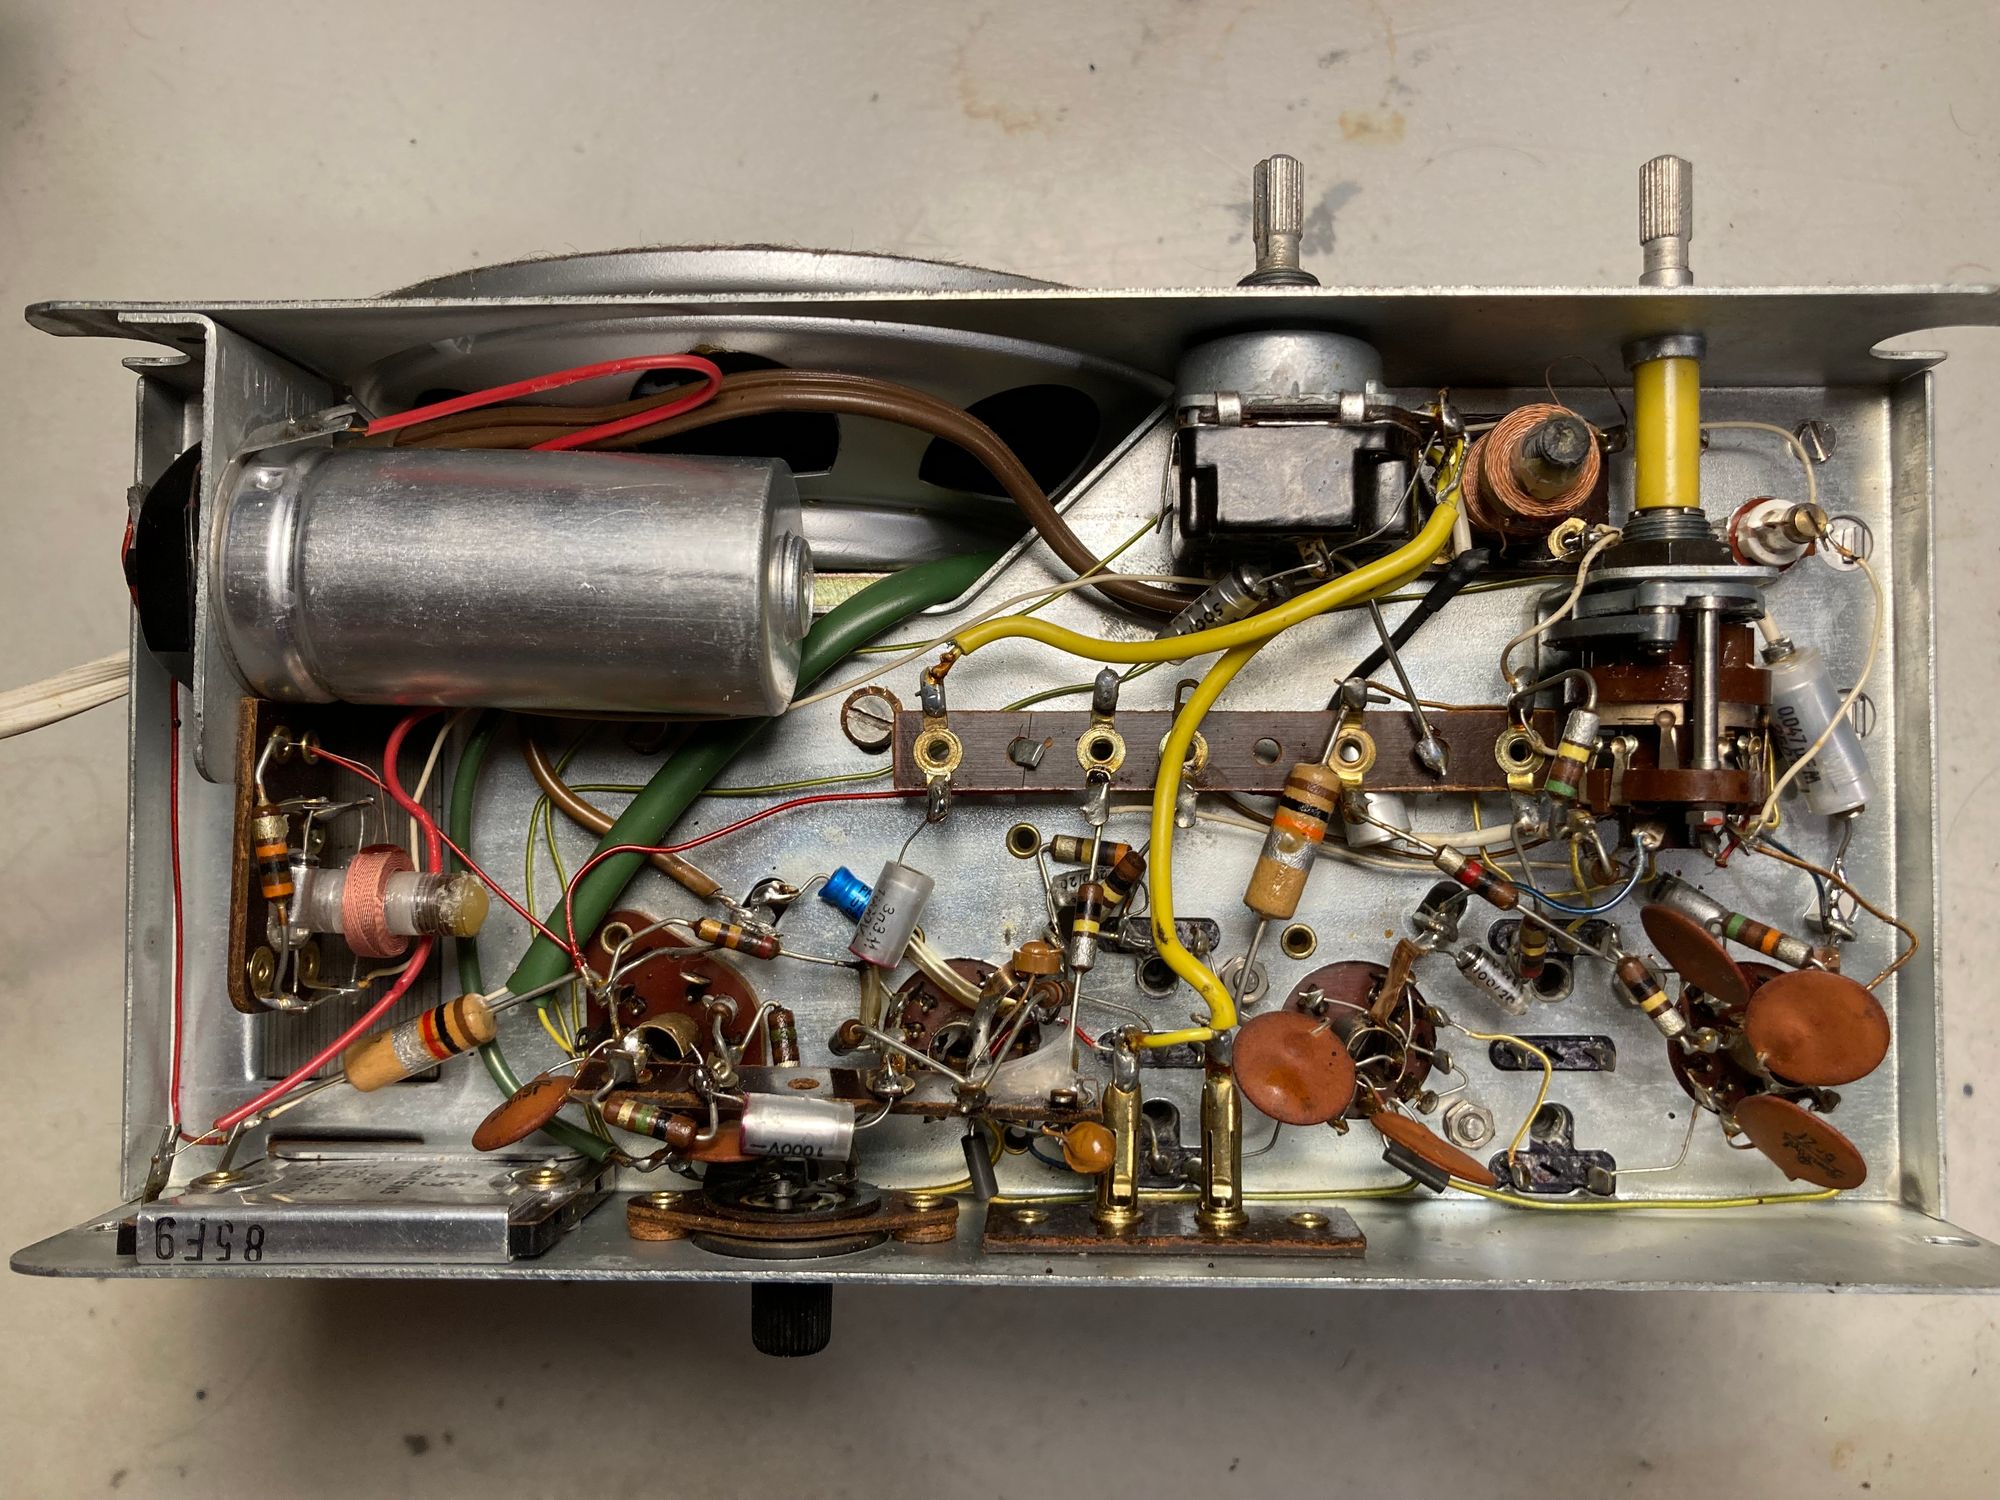
The internals looked extremely clean as well. It seems nobody was there before and that the unit has spent a big part of its life in storage, without even collecting that much dust:

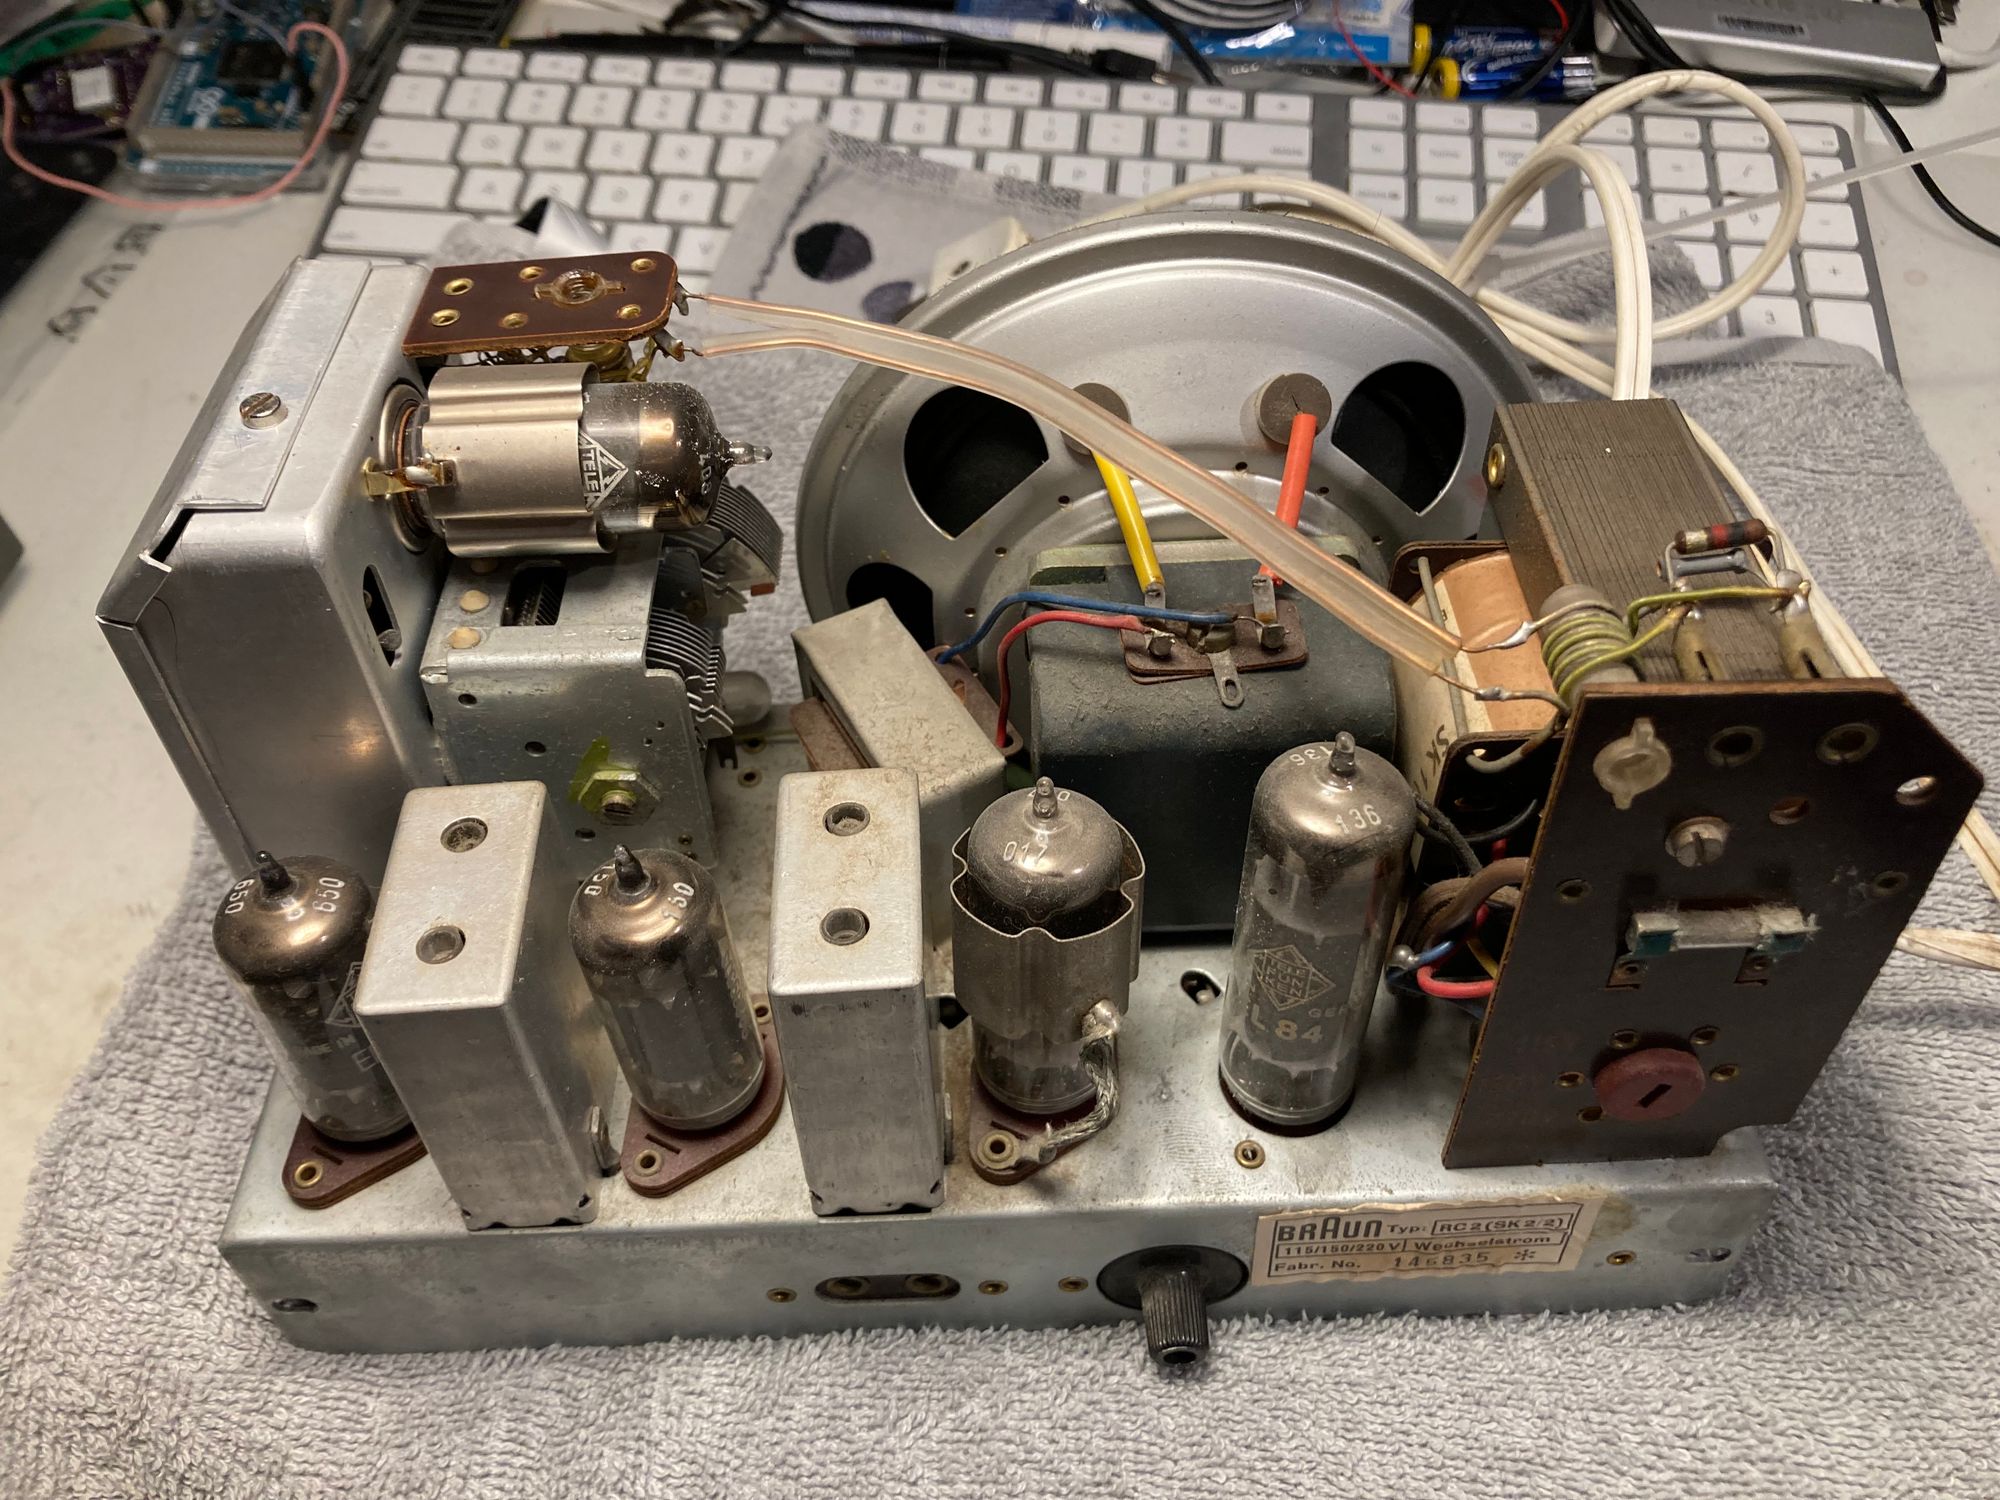
Replacing the capacitors
Before connecting the unit to power, there are two spots that require particular attention on Braun SK2/2:
- Capacitors
- Selenium rectified diode
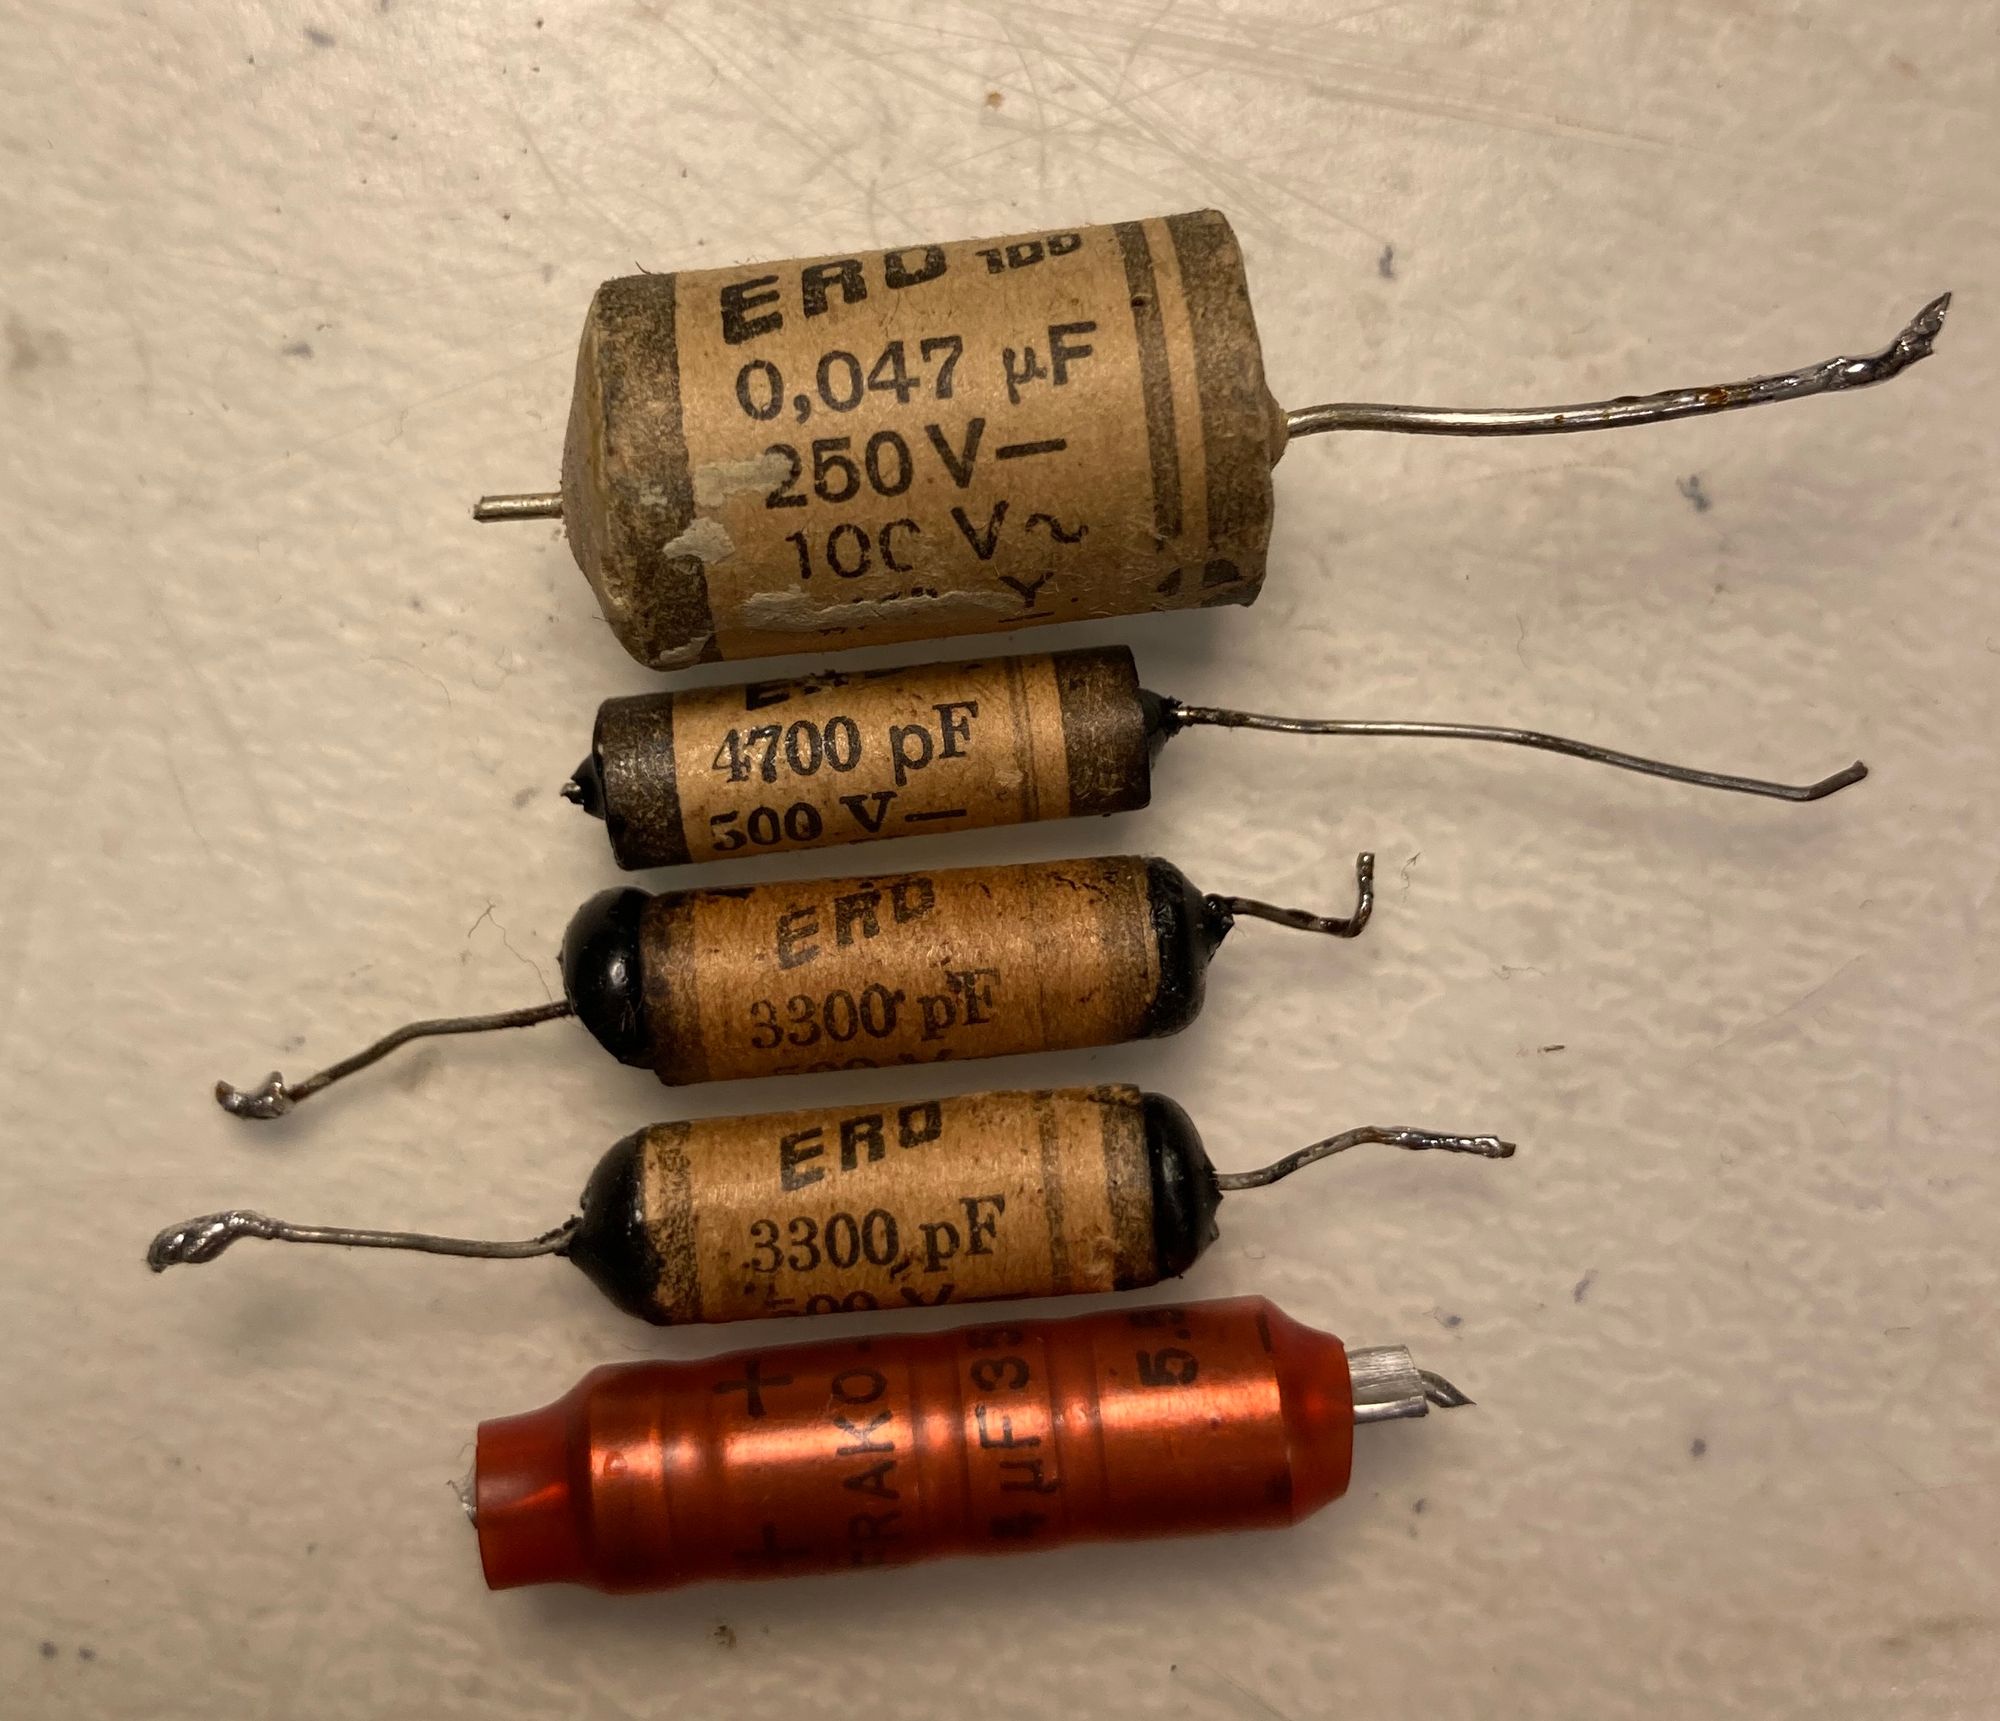
Especially the paper capacitors are dangerous, as they leak, loose capacitance or short, which might lead to fires and definitely can overload the rectifier diode. Those go out:
The selenium recitifer might go bad, either with a big poof or simply by increasing its resistance, which both makes it very hot and increases the voltage drop (and hence the voltages). In my unit the voltages seemed fine and I decided to keep the selenium component.
I replaced the capacitors and tried to kept them in the original locations, trying to not to alter the original routing to preserve originality:
Restoring the case
I was more worried about the case. How to strip the original paint without damaging the material? How to paint it to make it look nice?
Stripping turned out to be extremely easy. Hot water from a shower head combined with a non-abrasive sponge made the original paint just come off easily and cleanly - here halfway through:

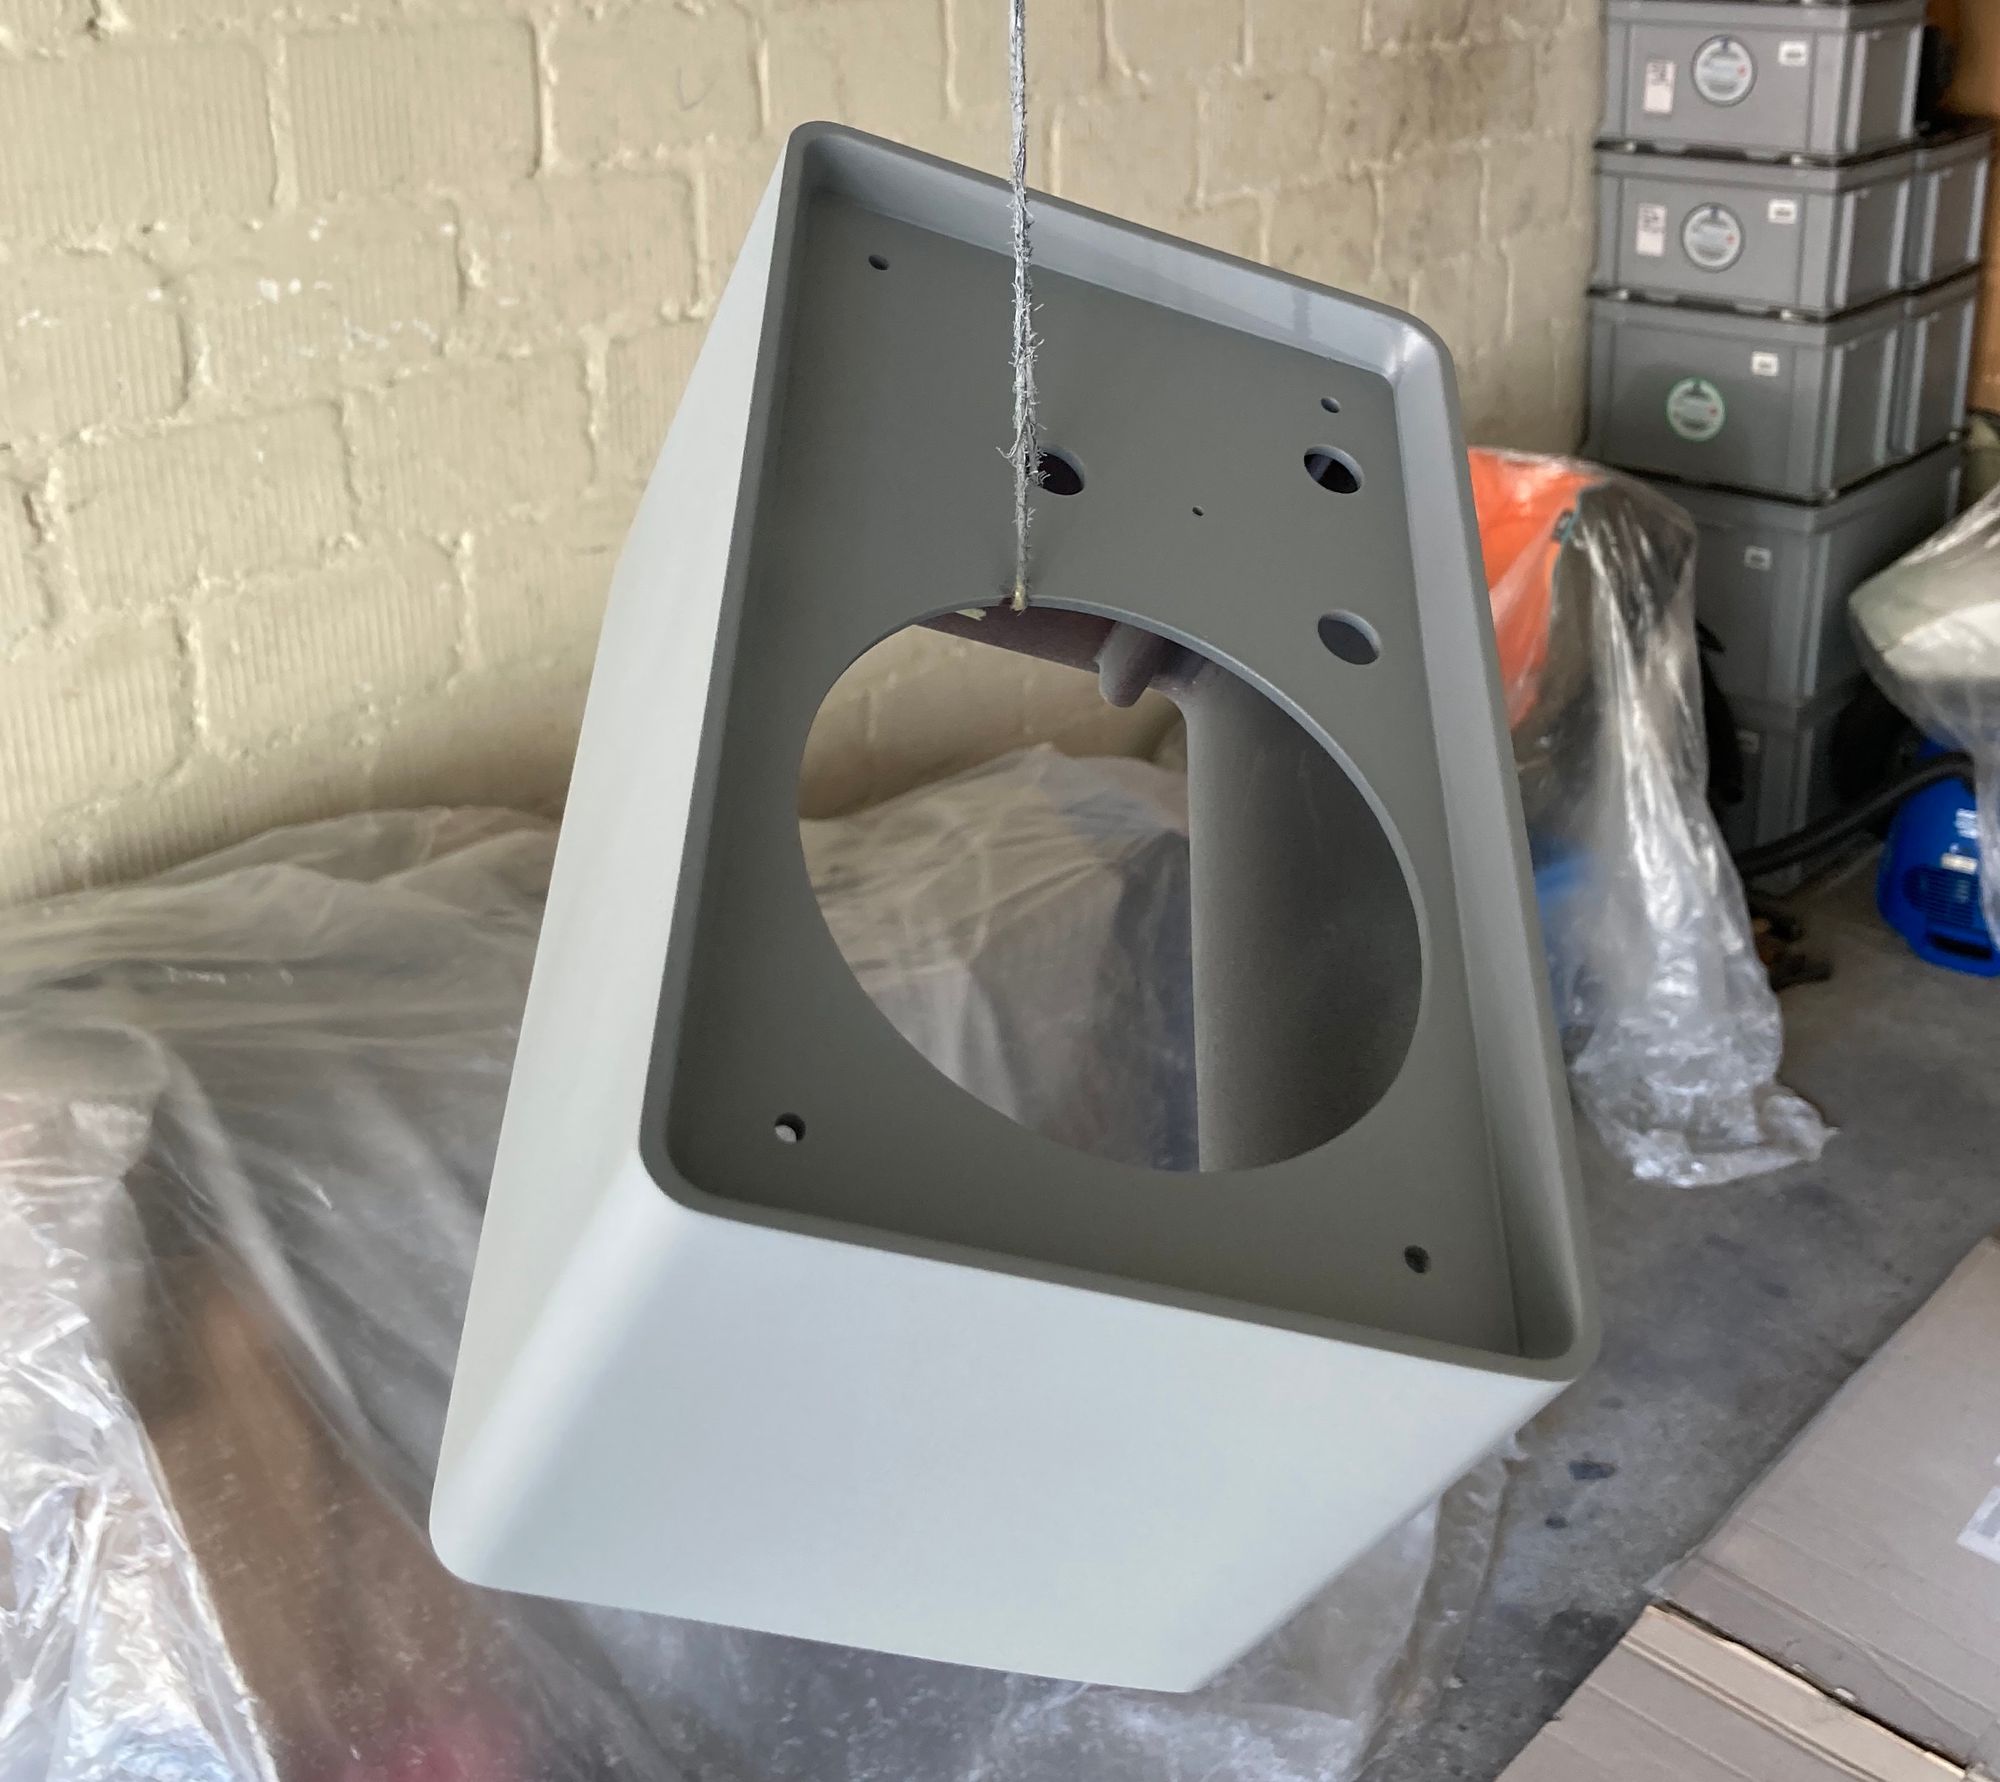
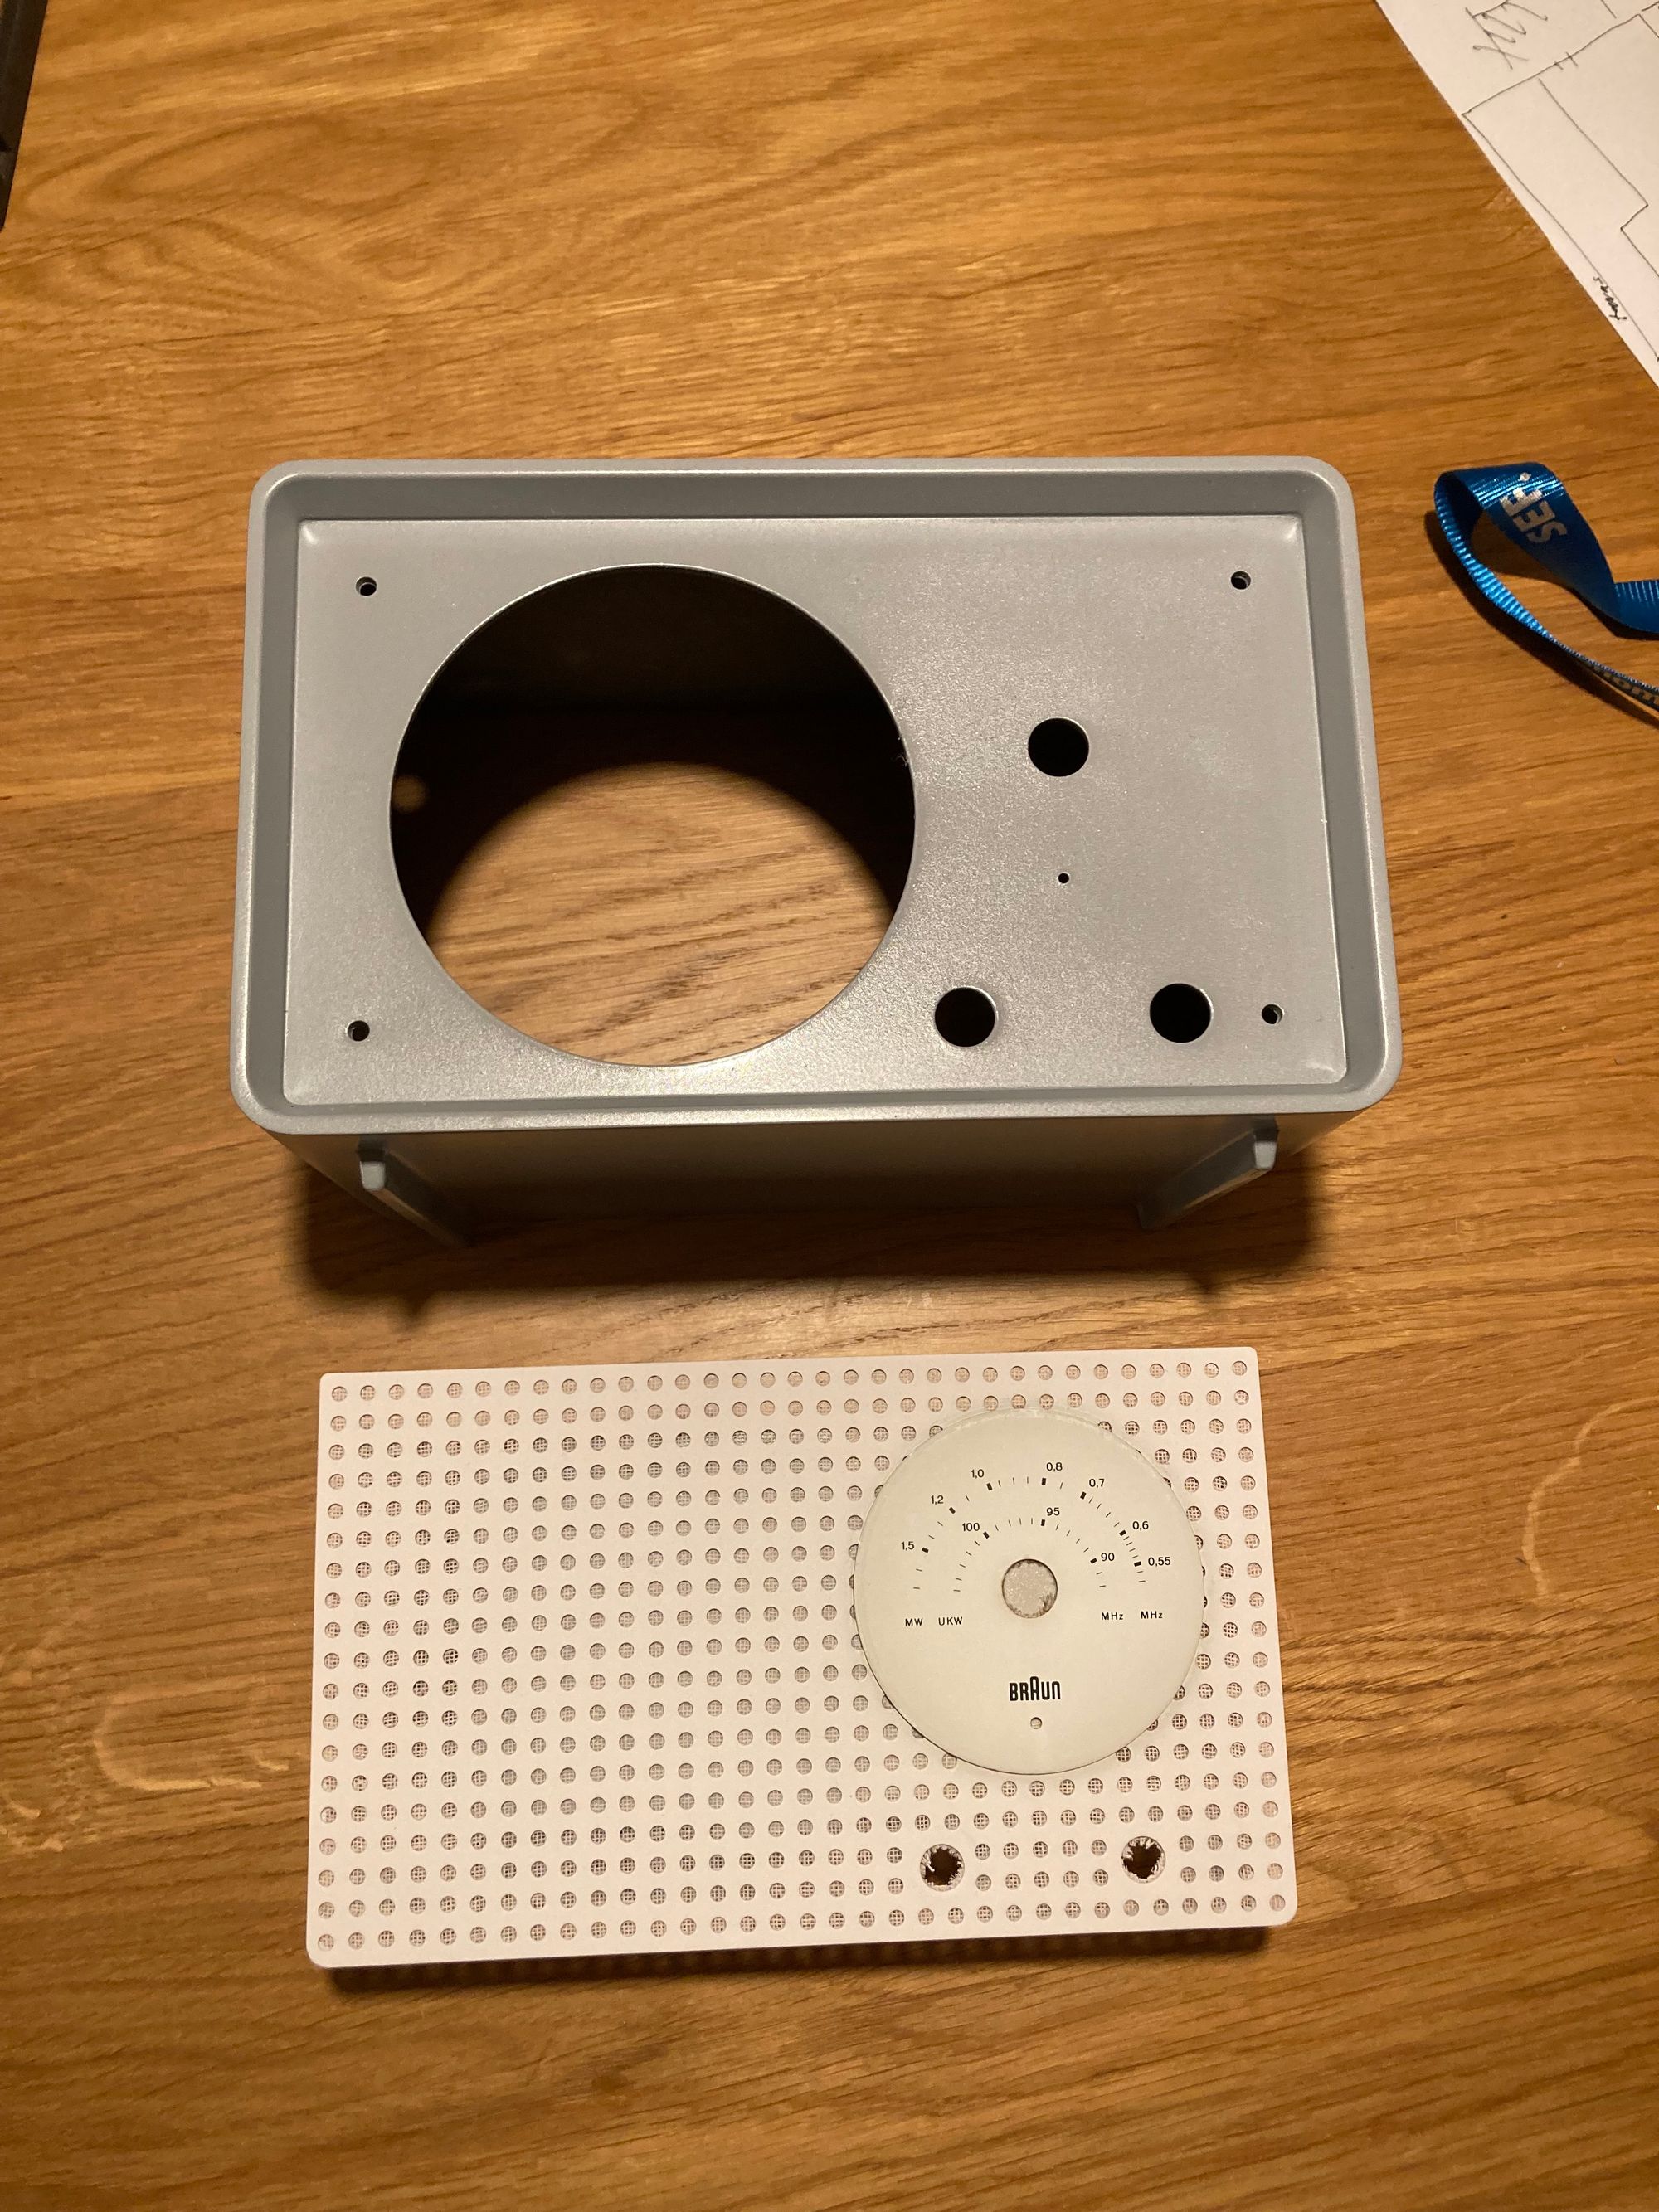
For the paint, I used a RAL paint color fan to pick the right colors and the result was:
- For the case: RAL 7040 (Fenstergrau) in satin-gloss finish, it’s really a perfect match and someone else in one of the German vintage radio forums reported the same
- For the front plate: RAL 9003 (Signalweiss) in satin-matt finish
I ordered both paints in spray cans but as a two component paint (2K) from https://spraydosenshop.de/. The 2K paint cures via a chemical reaction, making the final result more resistant to wear and various substances.
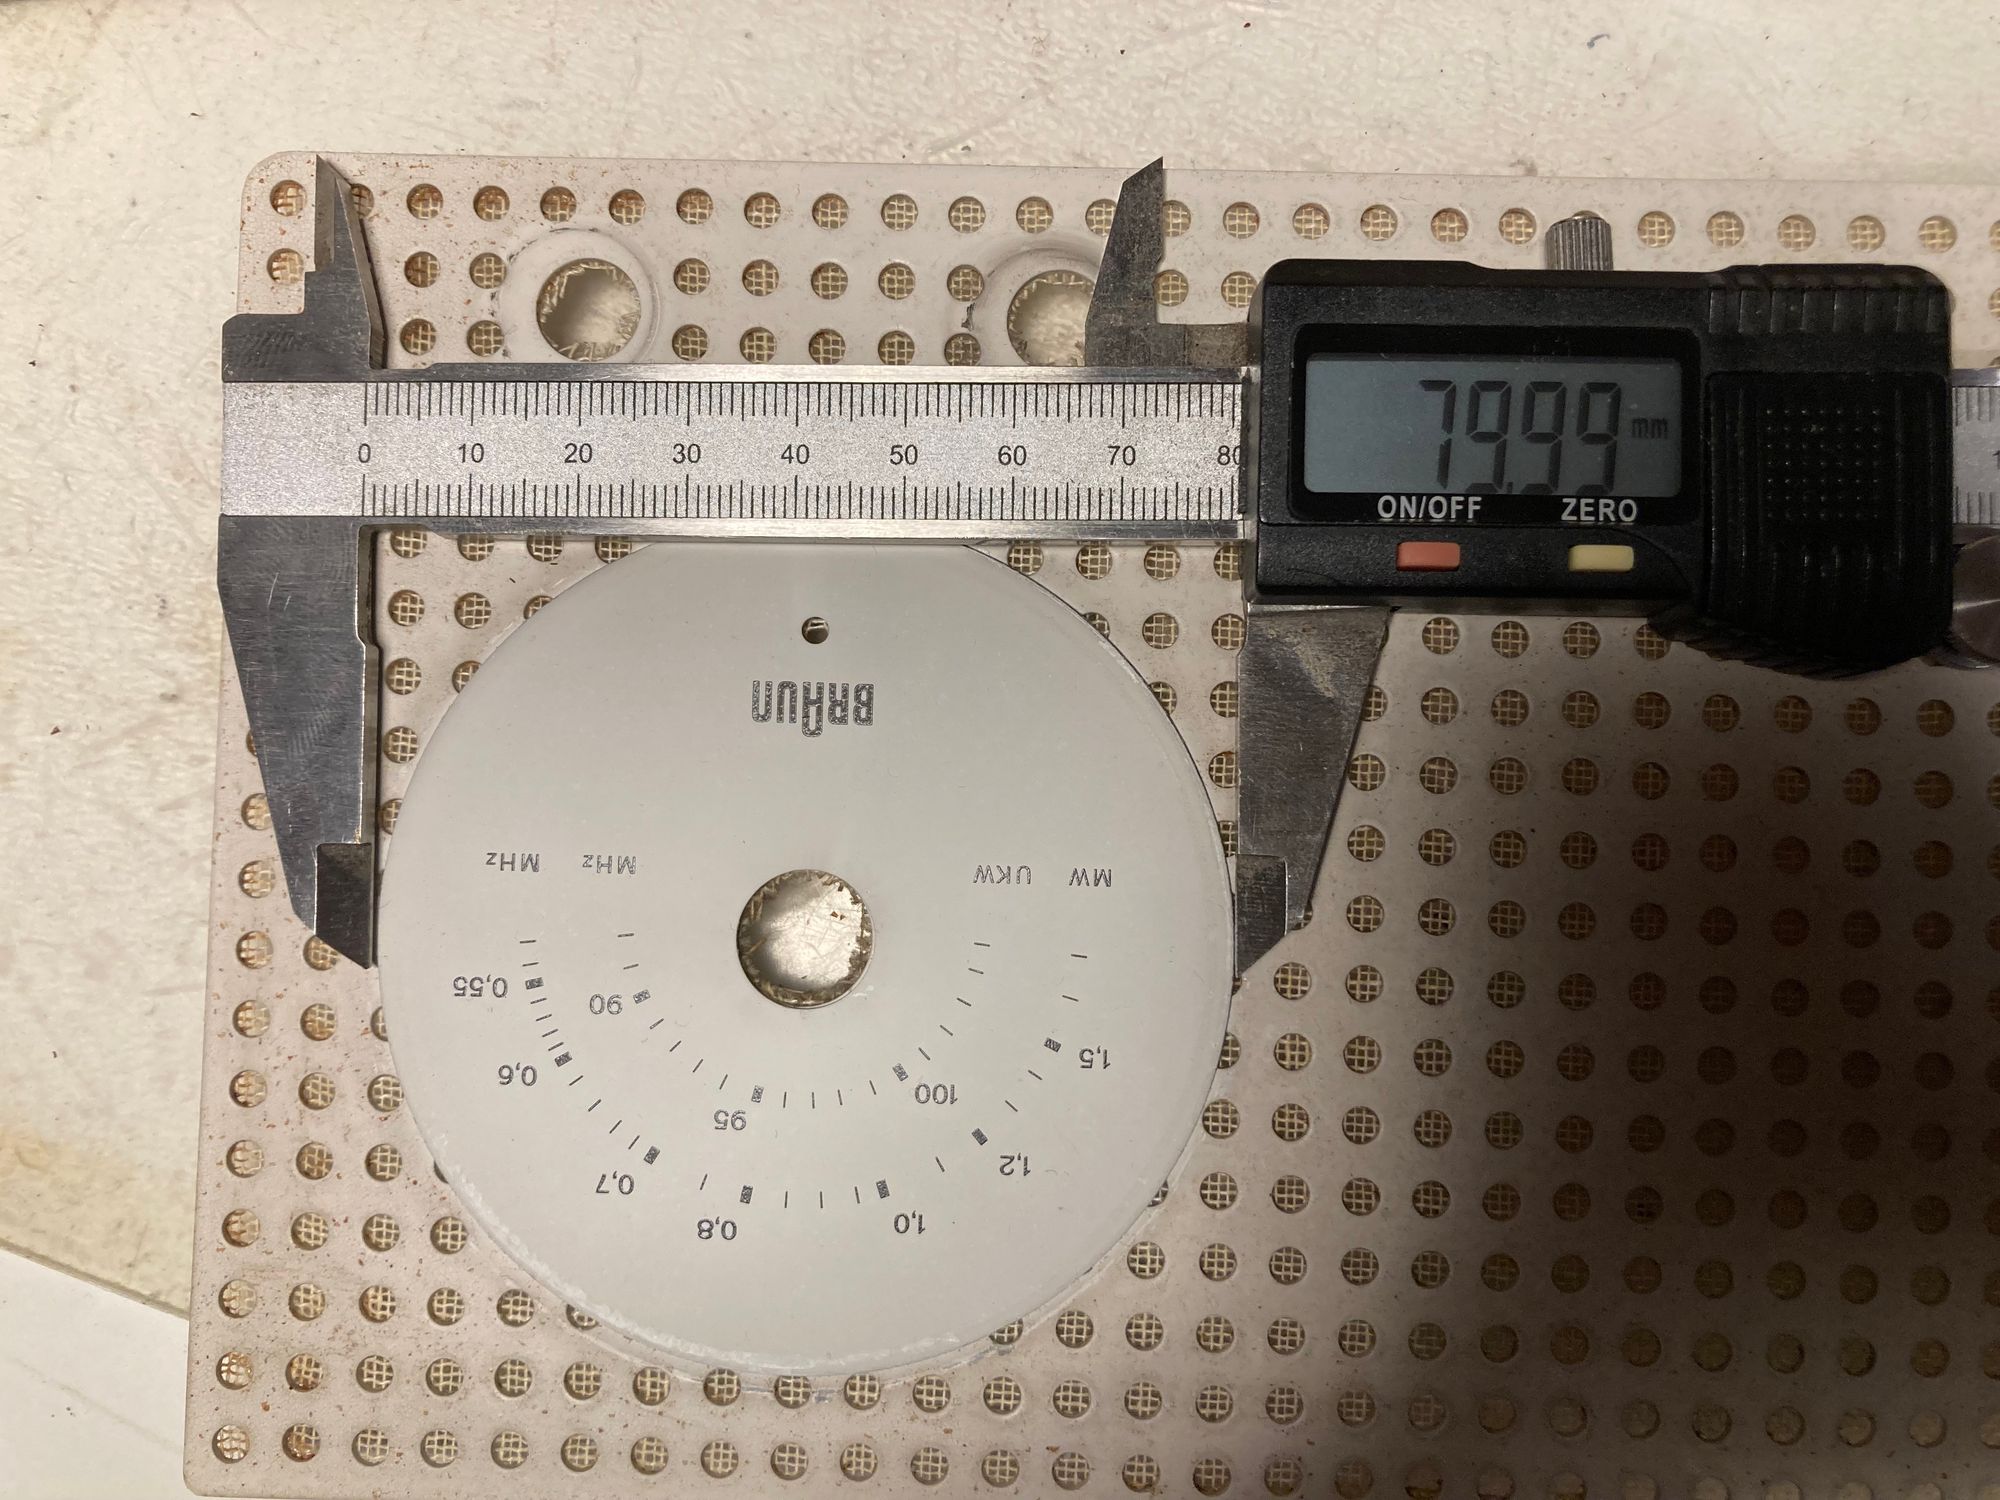
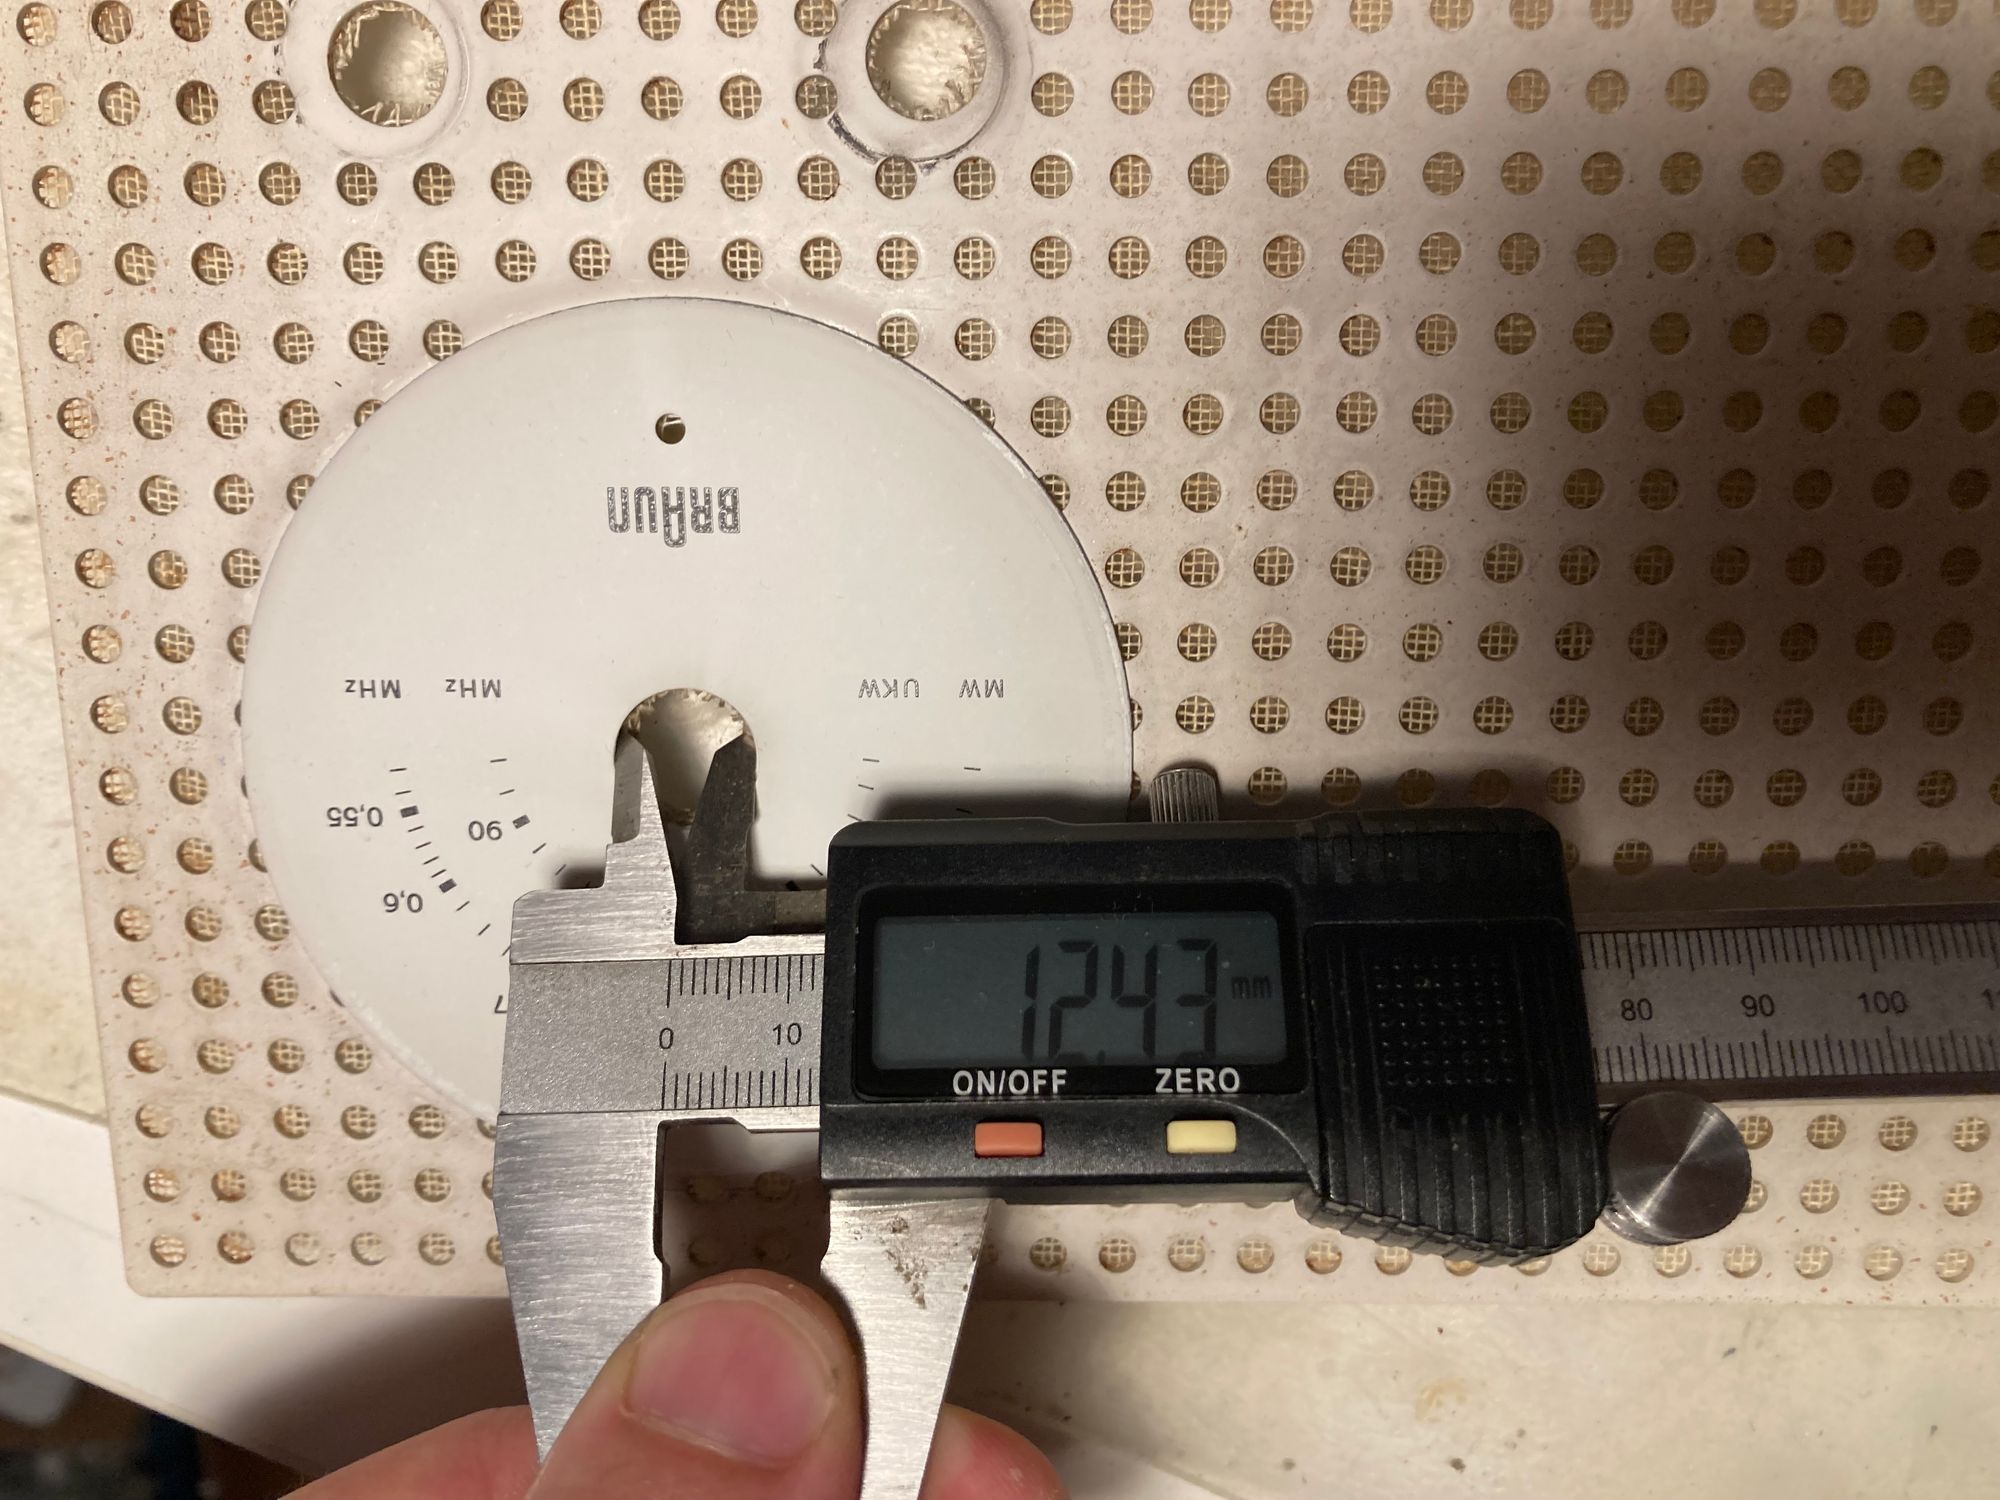
Before painting, I also measured the dial (80x12.5mm) and printed a small ring to cover it (it is glued and I didn’t want to destroy it when attempting a disassembly):
So here we go:

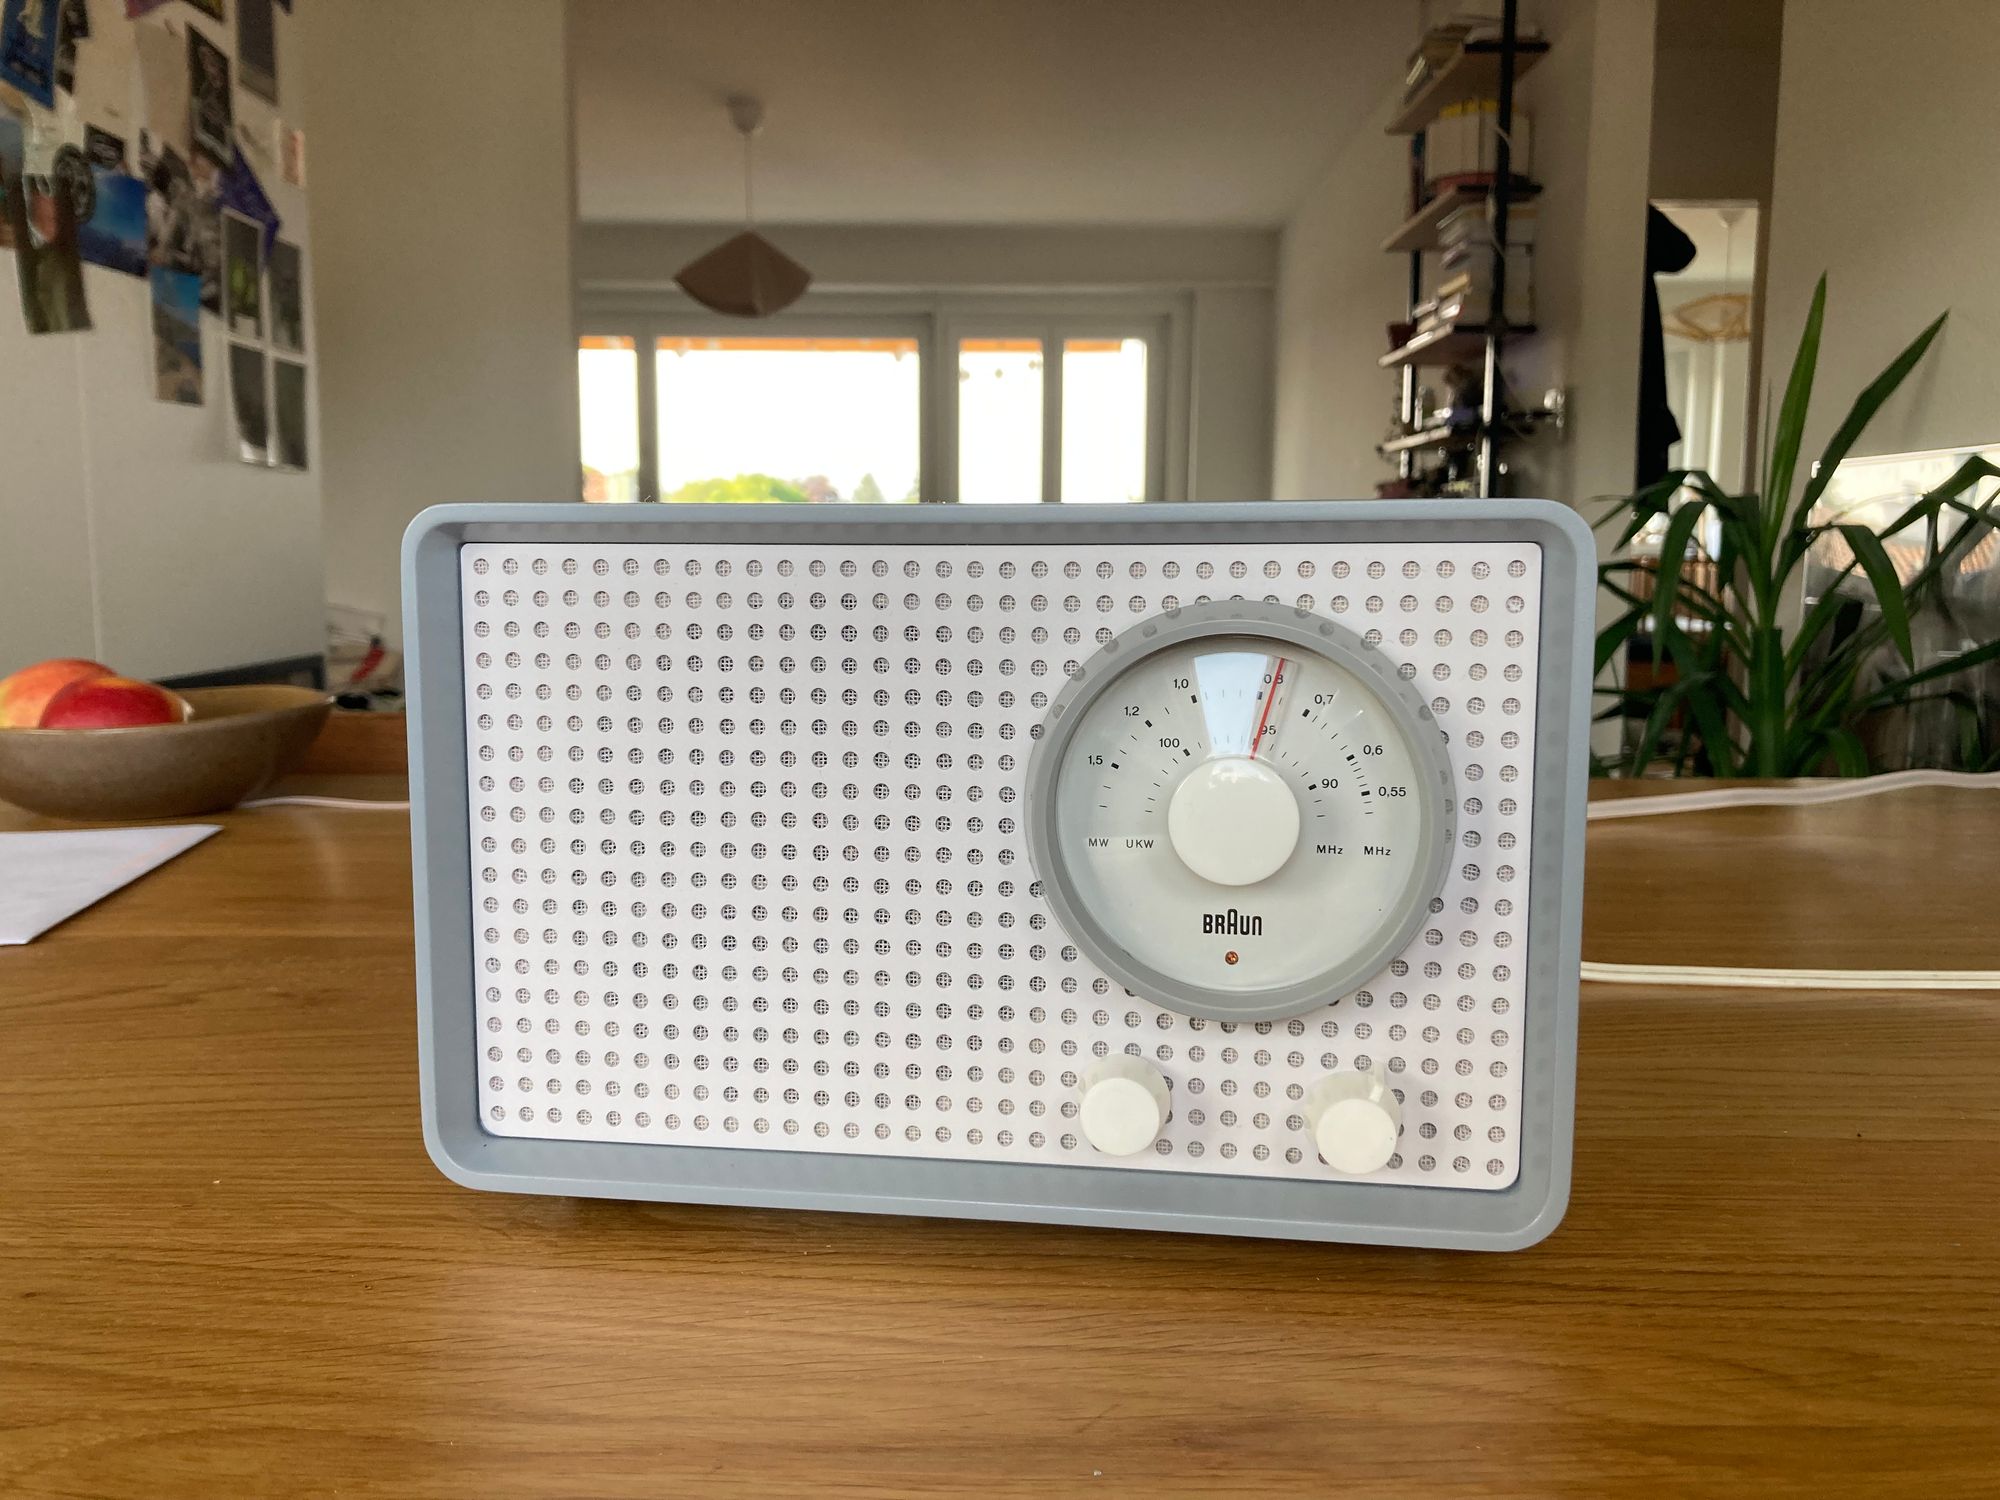
Final result
The final result came out very very pleasing - the radio works reliably in both FM and AM band and looks pretty much like new. I absolutely love it! ❤️